I have gotten into a routine of trying a new technique or learning something new with each quilt I make. I started looking through my quilting projects both done and in-progress to decide which ones were ready for a blog post. As I was starting to draft a blog post for each one, it dawned on me that they all had something in common - I tried something new on each one of them. So I decided to do a post on the new or different techniques I tried on each one of them instead of focusing on the quilt themselves.
I made a quilt for each of my brother's grands. One of them liked "howls" or owls and the other little one did not have a preference but I found a kit from a local quilt shop that was just perfect for her.
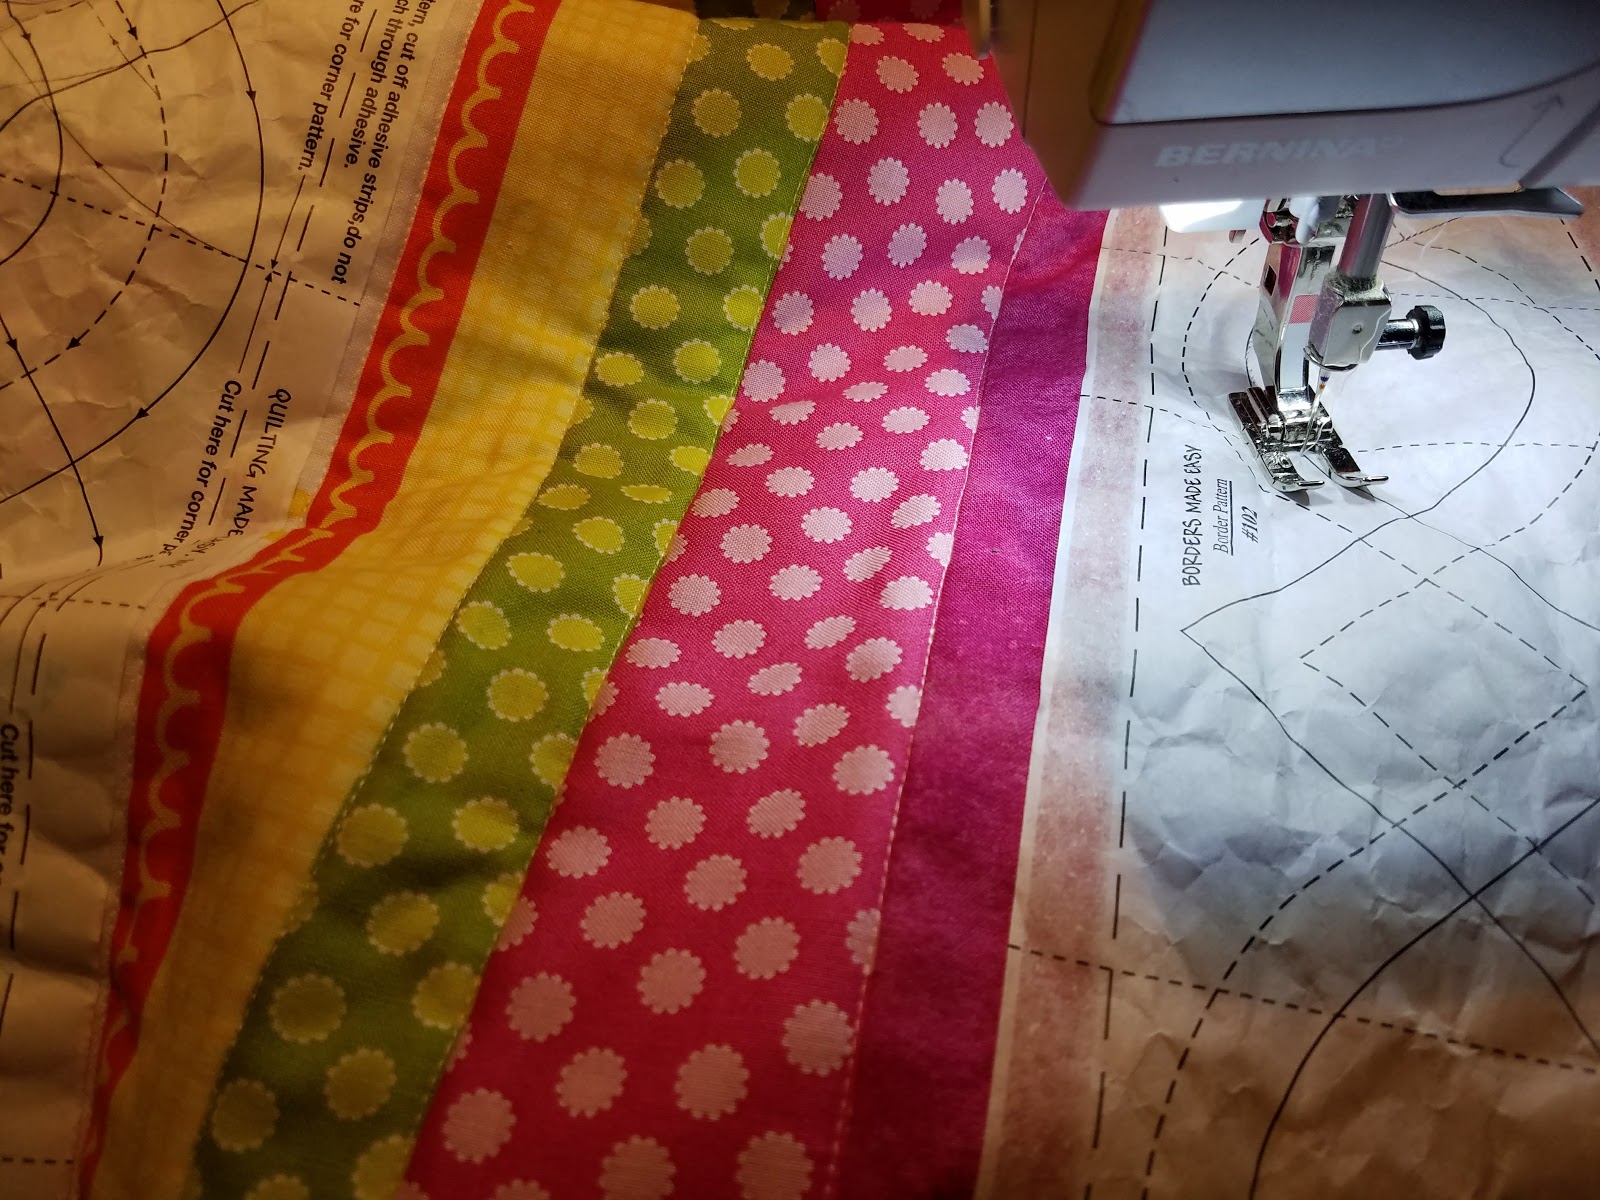
The fabric I used for the "howls" quilt was a horizontal striped fabric that I could not bring myself to cut. It made perfect sense to cut it down to size, add a border and call it a day. However I wanted to add a bit of fancy work to the borders to counteract the linear look of the stripes. One problem - I don't do free motion quilting. But, I did have a roll of paper quilting pattern that is adhered to the fabric and used a guide for machine quilting!

This is called "Borders on a Roll". You simply cut the size you need off the roll and adhere it to the border using the sticky edges of the paper. It worked beautifully! There are a variety of patterns to chose from as well. This will be a technique I will use again and again!
 |
| Front of quilt |
The stripes on the front of the quilt were machine quilted above and below each of the divider bars. I love how this quilt turned out!
The second lesson I learned was about using quilt labels. I don't use labels on many of my quilts as others do, but on very special ones, I do. I think my biggest fear is that the print on the label will run when the quilt is washed and as the last thing that is done prior to gifting the quilt, a ruined label will also ruin the quilt. But I wanted to label this particular quilt. We were invited to a birthday party to celebrate the 90th birthday of a very special lady named Rose. I was at a loss as to what to give her as a gift and I knew I had less than a week to decide, but I ultimately chose to make a lap size quilt. I found the perfect fabric in my stash and the count down clock started! The quilt was made using the "tube method" which I will describe in the next lesson learned. It went together very quickly. The fabric used for the borders was a surprise find in my stash - all roses! Once the quilt was finished, I decided to add a special label. I knew I needed to practice to find the right words, the right ink and the right method of adhering the label to the quilt. I found a printable frame on line and tested it with iron-on paper and several inks. I finally found a combination that worked. The quilt was completed on time and was loved by the lady for whom it was made! I see more labels in my future!


The last lesson I want to tell you about is tube quilting! This technique was used to make a quilt for the sister of the little lady who loved "howls". As it turns out, I had a quilt kit in my stash that was just perfect for her. It came with all the fabrics and the directions instructed me to cut strips from each of the appropriate fabrics and then sew them together to make a large strip set. With the tube technique, the sewing is done first, then the cutting follows. The sides of the strip set are then sewn to each other right sides together to make a tube. The tube was then cut across the top of the strip set to create multiple loops. In order to get the pattern to cascade, you need to find your friend Jack (the ripper). A seam between a different fabric loop is then ripped to create a flat strip again. These strips are then sewn to each other to create the quilt top with a cascading pattern. Add borders and backing and the quilt is done.
I love this technique (Rose's quilt was made using the same technique). This method is more time friendly than sewing 64 blocks together! You can find a similar pattern called Streaks of Sunshine on the quiltville.com website.
Here's how the quilt front and backing turned out:
I hope you enjoyed reading about my adventures outside the box! Comments, as always, are welcome!